
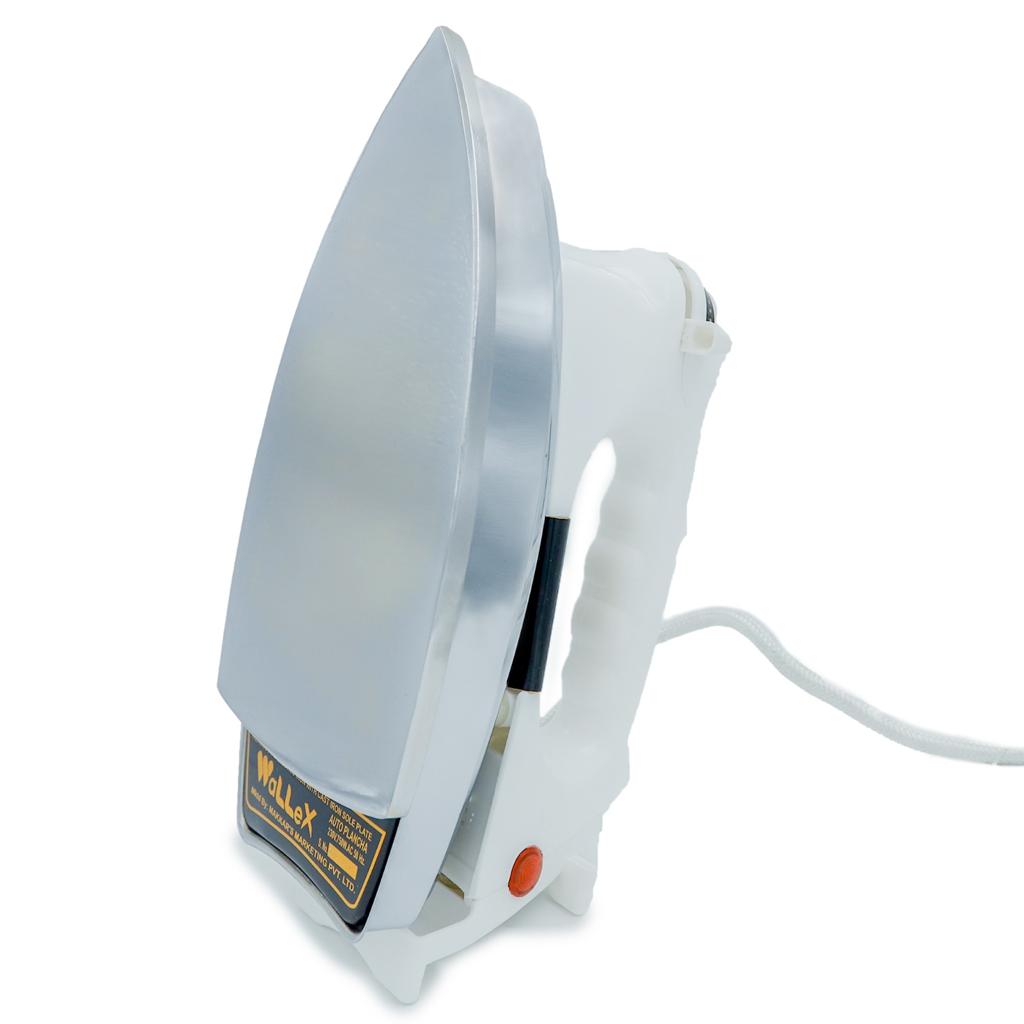
An electric iron is one of those household essentials that we often take for granted. It keeps our clothes crisp, smooth, and presentable, making us look polished whether we are heading to the office, a meeting, or a special occasion. However, like any frequently used appliance, an iron requires regular care and maintenance. Over time, dirt, limescale, scorch marks, and fabric residues can accumulate on the soleplate or inside the steam vents, affecting its efficiency and even damaging delicate fabrics.
If your iron is sticking to clothes, leaving behind stains, or not producing enough steam, chances are it needs a thorough cleaning. The good news is that cleaning an electric iron is simple when done with the right techniques and materials. In this guide, we’ll walk through step-by-step methods to How to Clean Electric Iron both inside and out, ensuring it functions smoothly and lasts longer.
Why Cleaning an Electric Iron Is Important
Before diving into the cleaning process, let’s understand why this maintenance task is so crucial:
-
Prevents Fabric Damage – A dirty soleplate can drag across clothes, snag delicate fabrics, or leave scorch marks.
-
Maintains Performance – Mineral deposits from tap water can clog steam vents, reducing steam output and making ironing less effective.
-
Extends Lifespan – Regular cleaning prevents buildup that could eventually damage the heating elements or the soleplate.
-
Saves Time and Energy – A clean iron glides smoothly, reducing the effort and time required to press clothes.
Common Signs That Your Iron Needs Cleaning
-
Sticky residue or black marks on the soleplate.
-
White chalky deposits or brownish stains on clothes after ironing.
-
Steam function not working properly due to clogged vents.
-
A burning smell when the iron is in use.
-
Water dripping instead of steaming.
If you notice any of these issues, it’s time to give your electric iron a deep clean.
What You’ll Need to Clean Your Iron
Cleaning an iron doesn’t require expensive solutions. In fact, many household items can work wonders. Here are some commonly used cleaning supplies:
-
White vinegar
-
Baking soda
-
Distilled water
-
Cotton swabs
-
A clean soft cloth or microfiber towel
-
Toothpaste (non-gel type)
-
Newspaper or old towel
-
Small brush (like an old toothbrush)
-
Dish soap
-
Wooden skewer or toothpick
Step 1: Safety First
Before starting, always unplug the iron and let it cool completely if it has been used recently. Cleaning a hot iron not only risks burns but can also cause cleaning agents to evaporate or damage the surface.
Step 2: Cleaning the Soleplate
The soleplate is the flat, heated metal surface of the iron that comes in direct contact with your clothes. It often collects scorch marks, melted synthetic fabric, or mineral deposits. Here are several ways to clean it depending on the type of residue:
a) Baking Soda Paste
-
Mix two tablespoons of baking soda with a little water to form a thick paste.
-
Apply the paste to the soleplate using a soft cloth, focusing on areas with stains.
-
Gently scrub without scratching the surface.
-
Wipe clean with a damp cloth.
b) Vinegar Method
-
Heat some white vinegar slightly (not boiling).
-
Dip a soft cloth in the warm vinegar and rub the soleplate to remove stains.
-
For stubborn marks, soak a towel in vinegar, place the iron on top (unplugged and cold), and let it sit for 30 minutes before wiping.
c) Toothpaste Trick
-
Apply a small amount of non-gel toothpaste directly to stained areas of the soleplate.
-
Rub gently with a cloth.
-
Wipe away with a damp cloth and then heat the iron slightly to burn off any residue.
d) Salt and Paper Method
-
Place a sheet of newspaper or brown paper on an ironing board.
-
Sprinkle a generous amount of salt on it.
-
Set the iron to a medium heat setting (without steam) and rub it over the salt.
-
The abrasive action helps remove sticky buildup and dirt.
Step 3: Cleaning the Steam Vents
Steam vents are small openings on the soleplate that release steam. They can easily get clogged with mineral deposits if you use tap water in your iron. Here’s how to clean them:
-
Dip a cotton swab in vinegar or a mixture of vinegar and water.
-
Insert the swab into each steam hole, gently cleaning out deposits.
-
Use a toothpick or wooden skewer for hardened residue, being careful not to scratch the vents.
-
Wipe the soleplate with a damp cloth afterward.
Step 4: Cleaning the Water Tank and Interior
If your iron produces less steam or spits out brown water, it’s likely that the interior has limescale buildup. Cleaning the inside ensures smooth steam flow.
Vinegar and Water Flush
-
Mix equal parts of white vinegar and distilled water.
-
Fill the iron’s water reservoir halfway with this solution.
-
Turn on the iron and set it to the steam function.
-
Allow it to steam for 5–10 minutes while holding it upright.
-
Press the steam burst button several times to flush out the vents.
-
Empty the tank and refill it with fresh distilled water.
-
Run the iron again to remove any vinegar smell and remaining deposits.
Step 5: Removing Melted Fabric
Sometimes synthetic fabrics like polyester can melt onto the soleplate if the iron is too hot. This sticky residue needs immediate cleaning.
-
Heat the iron slightly until the residue softens.
-
Scrape off gently with a wooden spatula or plastic tool (never use metal).
-
Apply vinegar or baking soda paste to remove leftover marks.
-
Wipe with a damp cloth.
Step 6: Polishing the Soleplate
Once stains and residues are removed, polishing the soleplate helps restore its shine and smoothness:
-
Rub a little vinegar on a microfiber cloth and buff the soleplate.
-
For extra shine, you can use a small amount of lemon juice.
-
Wipe dry with a soft, clean cloth.
Step 7: Exterior Cleaning
Don’t forget the outside of the iron, which may collect dust, fingerprints, or detergent residue.
-
Wipe the exterior with a cloth dampened in soapy water.
-
Clean around the buttons, handle, and cord carefully.
-
Dry thoroughly before plugging it back in.
Step 8: Preventive Maintenance Tips
Cleaning your iron regularly is important, but prevention is even better. Here are some tips to keep it in top condition:
-
Use Distilled Water – Tap water contains minerals that lead to scaling. Distilled water reduces buildup inside the iron.
-
Empty the Tank After Use – Always pour out leftover water after ironing to prevent stagnant water and limescale.
-
Store Upright – Keep your iron in an upright position to prevent leaks and damage to the soleplate.
-
Check Temperature Settings – Match the temperature to the fabric type to avoid burning or melting clothes.
-
Clean Monthly – Even if you don’t notice buildup, schedule a monthly quick clean to keep the iron performing well.
Natural Alternatives for Eco-Friendly Cleaning
If you prefer to avoid chemical cleaners, here are a few natural, eco-friendly alternatives:
-
Lemon Juice – Works well for removing mild stains and polishing.
-
Salt and Vinegar Mix – Effective for stubborn grime.
-
Cornstarch – Can absorb greasy residues when rubbed on the soleplate.
Troubleshooting Persistent Problems
Sometimes, despite cleaning, you may encounter recurring issues:
-
Iron Still Sticking to Clothes – Check if the soleplate is scratched or damaged; deep scratches may require professional repair.
-
Brown Water from Steam Vents – This indicates heavy limescale buildup; repeat the vinegar flush more thoroughly.
-
Iron Not Heating Properly – The problem may not be dirt but a faulty heating element, in which case servicing is required.
Final Thoughts
A clean electric iron not only makes ironing faster and easier but also protects your clothes from damage. With simple household ingredients like vinegar, baking soda, and salt, you can restore your iron’s performance without spending on expensive cleaning solutions. By adopting preventive care—such as using distilled water, emptying the tank after each use, and performing monthly maintenance—you’ll ensure your iron stays in excellent condition for years.
Regular cleaning is not just about appearance—it’s about efficiency, fabric care, and extending the life of a tool we use almost every day. The next time your iron drags or leaves marks on your clothes, don’t rush to replace it. Instead, give it the care it deserves, and you’ll be rewarded with crisp, spotless outfits and an appliance that performs like new.