You’ve spent countless hours perfecting your company’s logo. It looks incredible on your website, business cards, and signage. Now, you want to proudly display it on uniforms, hats, and promotional apparel. But sending that same digital file directly to an embroidery machine won’t work. This is where professional Logo Digitizing Services come in. They act as the essential translator, converting your visual artwork into a language of stitches that an embroidery machine can understand and execute perfectly.
This process is far more complex than simply changing a file extension. It’s a technical craft that blends art and engineering. A well-digitized logo stitches out cleanly, looks professional, and reinforces your brand identity. A poorly digitized one can lead to a thread-filled nightmare of puckering, broken stitches, and a distorted mess that does your brand a disservice. Let’s pull back the curtain and explain exactly how these services transform your art into an embroidery-ready file.
The Magic of Translation: From Pixels to Stitches
Think of your digital logo (like a JPG or PNG) as a photograph. It’s made of pixels, and its colors can blend into one another with subtle gradients. An embroidery machine, however, doesn’t understand pixels or gradients. It understands commands: move here, drop the needle, use this color thread, trim, and repeat.
A digitizer’s job is to analyze your pixel-based image and meticulously reconstruct it using only the elements an embroidery machine can use:
-
Satin Stitches: Columns of thread used for outlines, text, and details.
-
Fill Stitches: A series of running stitches that weave back and forth to fill larger areas.
-
Run Stitches: Single lines of stitching for very fine details.
-
Jump Stitches: The machine’s movement between sections without stitching.
-
Trim Commands: Instructions for the machine to cut the thread.
This translation is what turns your static image into a dynamic set of instructions—an embroidery file like .DST, .PES, or .EXP—that guides the machine’s every move.
The Step-by-Step Process of Professional Logo Digitizing Services
So, what exactly happens after you click “order” on a digitizing service’s website? It’s a meticulous process.
1. Artwork Analysis and Consultation
The first step isn’t clicking a mouse; it’s critical thinking. A skilled digitizer examines your logo to identify potential challenges. They look at:
-
Level of Detail: Are there tiny text or intricate elements that may not stitch well at a small size?
-
Color Blends: How will gradients or shadows be handled with solid thread colors?
-
Font Types: Is the text a sturdy, block font or a delicate script that requires special handling?
A reputable service might even contact you to discuss the intended garment (e.g., a stiff cap vs. a stretchy polo) and suggest minor, smart simplifications to ensure the best possible outcome.
2. The Manual Digitizing Workflow
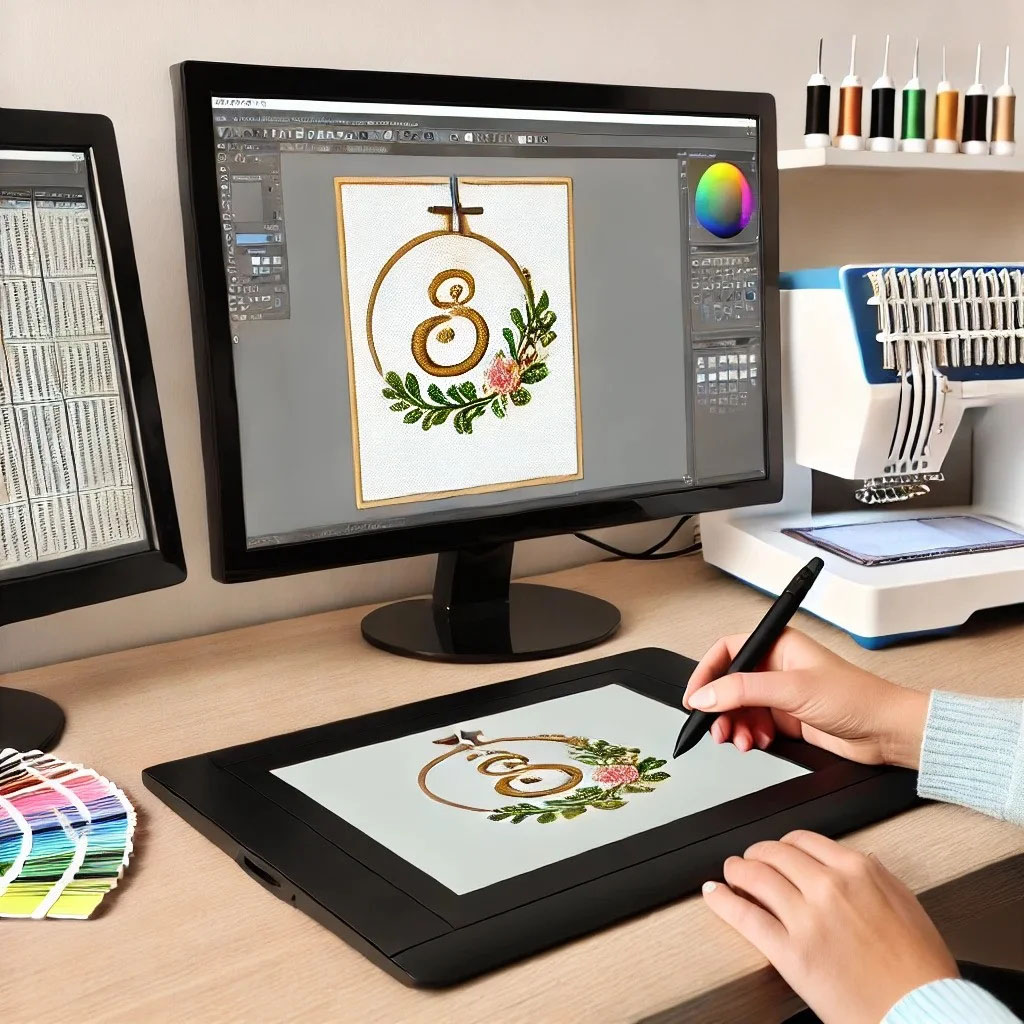
This is where the real magic happens. Contrary to popular belief, professional services don’t use an “auto-digitize” button. They manually plot the path of every stitch using specialized software.
-
Setting the Underlay: This is the foundation of all good embroidery. The digitizer creates a base layer of stitches that stabilizes the fabric, prevents puckering, and anchors the top stitches. Choosing the right underlay type is a core skill.
-
Defining Stitch Types and Paths: The digitizer manually traces the elements of your logo, assigning each section its stitch type (satin or fill). They also plot the precise order and direction of these stitches. Intelligent sequencing minimizes thread trims and color changes, leading to a cleaner back and faster production time.
-
Applying Pull Compensation: Fabric isn’t static; the needle and thread pull on it, which can cause gaps or distortion. Digitizers proactively adjust the design by slightly widening or overlapping areas to compensate for this pull, ensuring the final stitched design looks exactly as intended.
-
Setting Stitch Density: The density (the space between stitches) is carefully calibrated for the target fabric. Too dense, and the design will be stiff and prone of puckering. Too sparse, and the fabric will show through.
3. Quality Control and Proofing
Once the initial file is built, the job isn’t over. A quality service will have a second set of eyes review the file or even run a simulation in their software. They check for issues like excessively long jumps between sections or inefficient color changes. They then send you a digital proof—often a visual simulation of the stitchout—for your approval before you ever receive the final file.
4. Delivery and Support
You receive your finished embroidery file in the formats you need. But the service shouldn’t end there. Top-tier digitizers stand behind their work with a revision policy, offering to make minor tweaks if the design doesn’t stitch out perfectly on your specific machine or material.
Why You Can’t Just “Auto-Digitize”
Many entry-level software programs have an “auto-digitize” feature. While tempting, this automated process almost always produces inferior results. The software makes guesses based on algorithms, not experience. It often creates:
-
Excessive Stitch Count: The auto function typically overuses fill stitches, leading to a stiff, cardboard-like feel.
-
Poor Underlay: It rarely adds the complex underlay needed for stability.
-
Ignored Fabric Considerations: It doesn’t know if the design is for a towel or a t-shirt.
-
Clunky Details: Fine details and text usually get lost or stitched poorly.
Professional digitizing is a manual craft for a reason. It applies human judgment and technical expertise that software cannot replicate.
How to Choose the Right Logo Digitizing Service
With many options available, knowing what to look for ensures you get a quality file.
-
Human Expertise: Ensure the service emphasizes manual digitizing by experienced professionals, not automated software.
-
Turnaround Time: Look for a clear and reasonable turnaround, typically 24-48 hours for a quality job.
-
Revision Policy: A confident service will offer free minor revisions to ensure your satisfaction.
-
Portfolio & Reviews: Check their website for examples of their work and read customer testimonials.
-
Communication: The service should be easy to contact and willing to ask questions about your project.
The Real Value: More Than Just a File
Investing in a professional logo digitizing service provides value that far exceeds its cost.
-
Protects Your Brand Identity: A crisp, clean embroidered logo makes your business look professional and established.
-
Saves Time and Money: A well-digitized file runs smoothly on your machine, reducing thread breaks, wasted materials, and frustrating production delays.
-
Ensures Consistency: Whether you’ stitching your logo on 10 polos or 100 hats, a professionally digitized file guarantees every single one looks identical.
Conclusion: An Investment in Your Brand’s Image
Your logo is the visual cornerstone of your brand. How it appears on your apparel is a direct reflection of your quality and attention to detail. Professional logo digitizing services provide the crucial bridge between your digital art and physical thread, ensuring that reflection is always flawless.
By understanding the skill and process involved, you can appreciate the value these services provide and make an informed choice. It’s not an expense; it’s a strategic investment in presenting your brand in the best light possible, one perfect stitch at a time.